AI Image Prompt Writing: A Clear 6-Step Method
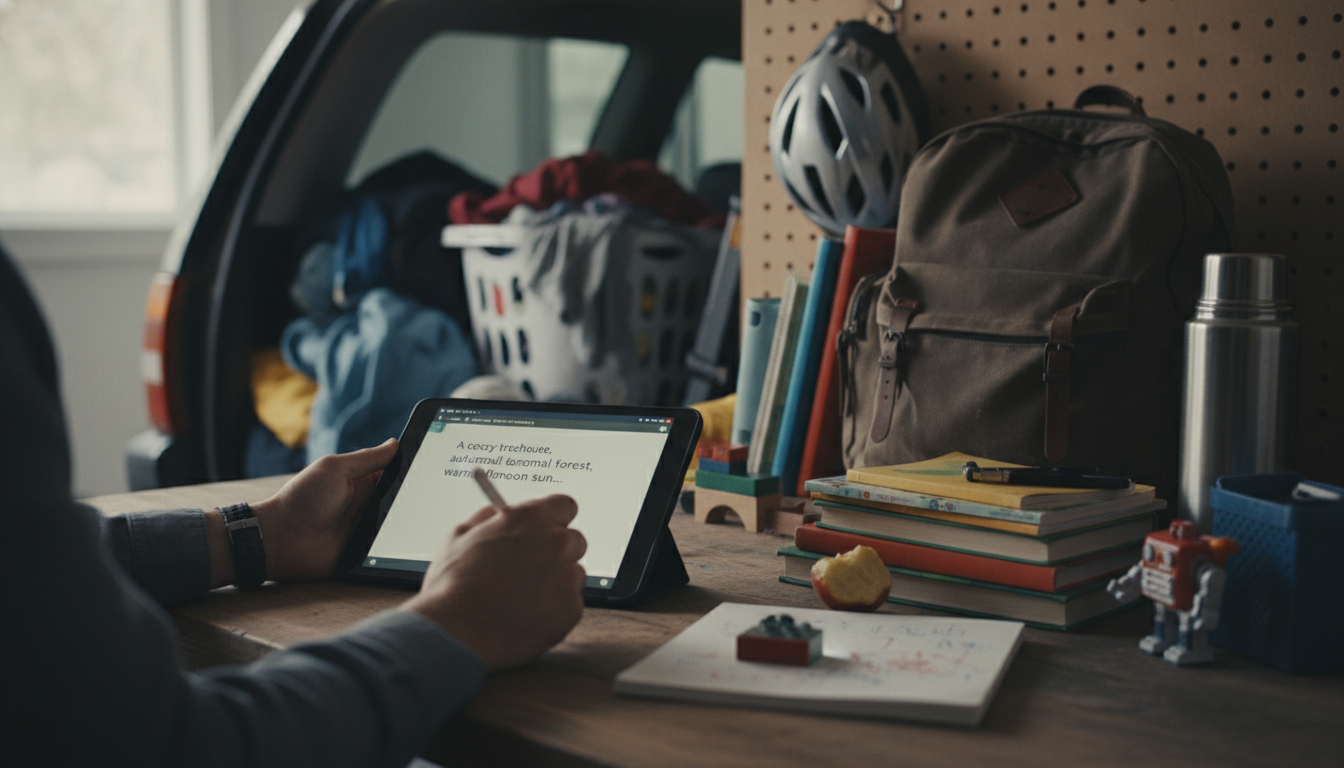
How to write AI prompts for images
Getting a great AI-generated image starts with being specific about what you want the viewer to notice first, then layering in the details that control style, lighting, and composition. A good approach is to describe the subject, the scene, and the “camera” choices in a single, clear request—then refine based on what the first result gets wrong.
1) Start with the subject and the goal
Lead with the main subject and what the image is for. Example: “A minimalist product photo of a matte black insulated water bottle on a light gray background.” This anchors the model on the primary object and the overall vibe.
2) Add concrete visual details
Specify materials, colors, age, facial expression, wardrobe, environment, and key props. Replace vague words like “nice” or “beautiful” with observable traits: “soft morning window light,” “shallow depth of field,” “subtle condensation droplets,” or “brushed aluminum texture.”
3) Control style, lighting, and composition
Choose an art direction (e.g., “studio photography,” “watercolor illustration,” “retro 1970s ad”), then define lighting and framing. Useful composition cues include “centered,” “rule of thirds,” “wide shot,” “close-up,” “top-down flat lay,” and “negative space for text on the right.”
4) Set technical constraints
Request an aspect ratio and resolution-friendly framing: “square 1:1,” “vertical 4:5,” or “banner 16:9.” If your image needs clean edges for a product page, ask for “simple background, crisp outline, no motion blur.”
5) Prevent common issues with exclusions
Add a short “avoid” list to reduce mistakes: “no extra fingers, no warped logos, no unreadable text, no cluttered background.” Keep exclusions limited so they don’t overpower the main description.
6) Iterate with a checklist mindset
After the first generation, adjust one variable at a time (lighting, angle, background, or style) so improvements are predictable. For a practical way to review details and catch errors before downloading or publishing assets, use the checklist in this guide.
FAQ
How do I keep text and logos from looking distorted in AI images?
Avoid relying on generated text; request “no text” and add typography later in design software. For logos, describe the brand mark conceptually and use a real logo overlay afterward to ensure accuracy.









Leave a comment
You must be logged in to post a comment.