Smart Floor-Mounted Ceramic Toilet: Features & Install Tips
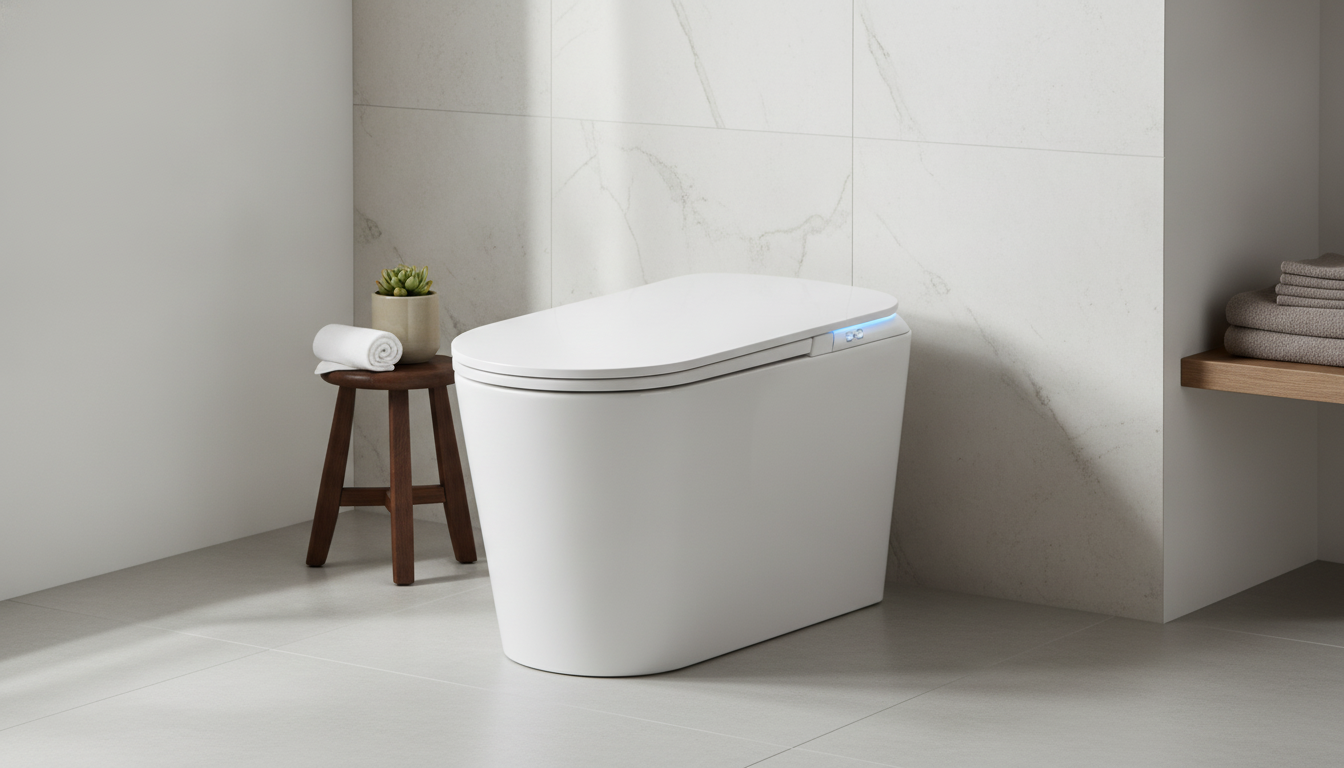
Smart White Floor-Mounted Automatic Ceramic Toilet with Intelligent Features
A floor-mounted smart toilet brings hands-free convenience and a cleaner daily routine without changing the familiar look of a ceramic fixture. With automatic lid and flushing options, heated comfort upgrades, and integrated bidet functions, it can make a noticeable difference in both hygiene and everyday ease. Below is a practical guide to the intelligent features worth prioritizing, what to confirm before ordering, and how to keep a smart ceramic toilet performing reliably over time.
What Makes a Smart Floor-Mounted Ceramic Toilet Different
Smart toilets often look similar to conventional one-piece designs, but they combine modern electronics with a traditional footprint.
- Floor-mounted format: Sits on the floor like a standard toilet, typically making it simpler to fit into common bathroom layouts than wall-hung systems.
- Ceramic body: A durable, stain-resistant surface that supports routine cleaning and long-term use.
- Automatic functions: Helps reduce touchpoints for flushing and lid/seat operation, supporting a more hygienic routine.
- Integrated electronics: Requires planning for power (outlet location, safe cord routing, and moisture-aware placement).
Intelligent Features to Prioritize for Everyday Comfort
Not all “smart” features improve daily use equally. For most households, comfort and reliability come from the basics done well.
- Hands-free flushing: Look for consistent sensor behavior and a manual override option for peace of mind.
- Heated seat control: Adjustable temperature levels and quick warm-up make the feature more usable year-round.
- Bidet wash functions: Confirm adjustable pressure, multiple wash modes, and a nozzle self-cleaning routine (if included).
- Warm air drying: Drying strength matters; adjustable settings are helpful when multiple users share the bathroom.
- Deodorization and ventilation: Especially valuable in shared bathrooms; check whether it runs automatically or by setting.
- Night lighting: A subtle glow can improve nighttime safety without turning on bright overhead lights.
Hygiene, Cleanability, and Materials
Smart features should make the bathroom easier to maintain—not more complicated. Prioritize surfaces and designs that keep cleaning straightforward.
- Glazed ceramic finish: Helps reduce buildup; stick with non-abrasive cleaners to protect the glaze.
- Nozzle hygiene: A dedicated cleaning mode (or removable nozzle access) makes routine upkeep faster.
- Touchpoint reduction: Automatic lid and flush functions can cut down on contact with buttons and handles.
- Seat and hinge design: Smoother seams and fewer crevices simplify wiping and reduce grime traps.
- Water quality considerations: Hard water can cause mineral buildup over time—plan for periodic descaling if needed.
Installation and Fit: What to Confirm Before Ordering
Smart toilets are less forgiving of “close enough” measurements. Confirming fit details upfront helps avoid delays and return headaches.
Pre-Install Checklist for Smart Toilets
| Item to verify | Why it matters | What to measure or check |
|---|---|---|
| Rough-in size | Ensures the base aligns with the drain | Wall-to-flange center distance |
| Outlet and protection | Prevents electrical hazards near water | Nearby GFCI outlet location and cord path |
| Water supply compatibility | Avoids delays and extra fittings | Shutoff valve type, hose length, inlet position |
| Bathroom clearance | Improves comfort and usability | Side clearance, front clearance, door swing conflicts |
| Floor level | Helps keep seals intact and prevents wobble | Level check at mounting area |
- Rough-in measurement: Verify the distance from the wall to the center of the floor drain to avoid surprises.
- Water supply location: Confirm inlet placement and whether adapters are needed for existing shutoff valves.
- Power access: Plan for a GFCI-protected outlet within reach and avoid extension cords in wet areas.
- Space clearance: Confirm side/front clearance for comfort, cleaning access, and lid/seat movement.
- Floor stability and leveling: A stable, level base helps prevent rocking and protects seals over time.
- Professional installation: Recommended when plumbing adjustments or electrical work is required.
Performance and Efficiency Considerations
Comfort features matter, but a smart toilet still needs to flush well and operate predictably—especially when conditions aren’t perfect.
- Flush performance: Confirm automatic flushing also includes a manual flush option for interruptions and troubleshooting.
- Water use: Efficient flush systems can reduce consumption; for background guidance, the EPA WaterSense toilet resource explains common efficiency benchmarks.
- Noise level: Night use can benefit from quieter lid motion and flushing—review product notes and available settings.
- Standby power behavior: Smart features typically draw a small amount of standby power; consider usage frequency and energy preferences.
Controls and User Experience
The best smart toilet is one that guests can figure out quickly and household members can personalize without fuss.
If the bathroom is being upgraded for accessibility, reviewing baseline spacing and usability guidance from the ADA Standards for Accessible Design can help when planning clearances and overall layout.
Care, Maintenance, and Long-Term Reliability
Shop In-Stock Options
- Smart White Floor-Mounted Automatic Ceramic Toilet with Intelligent Features
- Less Is Luxe: The Minimal Fashion Guide – Ultimate eBook for Timeless, Effortless Style
FAQ
Does a smart toilet still work if the power goes out?
During a power outage, electronic features like sensors, heated seats, and bidet functions may stop working. Many models include a manual flush option, and the exact behavior can vary by design—check the product’s operating notes before purchase.
What electrical setup is typically needed for an automatic smart toilet?
A properly grounded outlet located within cord reach is typically required, ideally GFCI-protected due to proximity to water. Avoid extension cords in bathrooms, and use a qualified professional if a new outlet or routing changes are needed.
How often should bidet nozzles and internal water paths be cleaned or descaled?
In average conditions, a light nozzle cleaning routine can be done weekly or as needed, while descaling is often helpful every 1–3 months in hard-water areas (less often with soft water). Use the unit’s cleaning mode when available and follow the manufacturer’s guidance for safe descaling intervals.
















Leave a comment
You must be logged in to post a comment.